Creating Quizzes and Surveys
Purpose/Overview
In this article, you’ll learn how to create and configure Quizzes and Surveys in Irth Training to assess knowledge or gather feedback from learners. Quizzes and Surveys allow administrators and instructors to organize approved questions into a single assessment experience, helping measure comprehension, reinforce learning, or collect insights from students. This feature is intended for course administrators, trainers, and content managers who need a structured and repeatable way to evaluate learners or capture feedback.
Navigation Path:
To access this feature: Irth Training > Tools > Quizzes/Surveys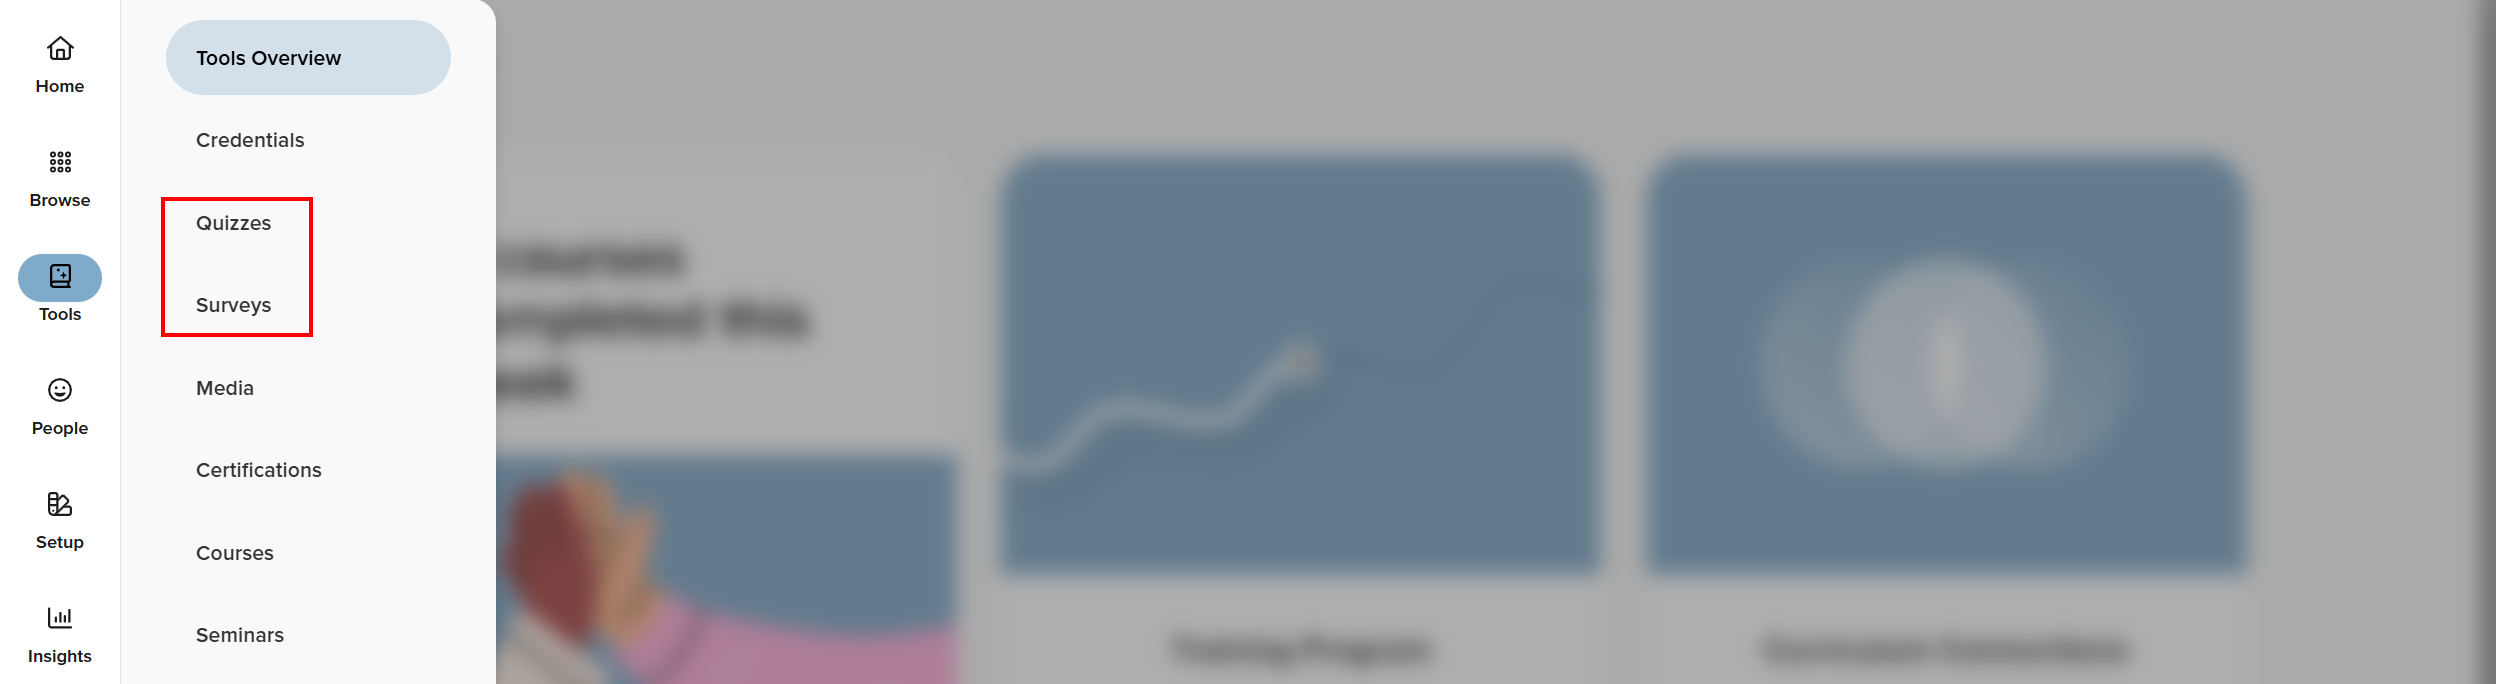
Things to Know:
Question prerequisite: You must create and approve questions before adding them to a quiz or survey. New questions cannot be created during quiz or survey setup.
Permissions: Users must have access to the Tools menu and permission to create or edit Quizzes or Surveys.
Scoring behavior: Question scoring is managed at the page level and evenly distributed across questions on that page.
Retakes: If retakes are enabled, question pools will continue to present unseen questions until the pool is exhausted.
Key Benefits/Use Cases:
Knowledge Validation: Use quizzes to confirm learner understanding after training, ensuring key concepts are retained, and compliance requirements are met.
Learner Feedback: Use surveys to gather feedback on courses, instructors, or training materials, helping improve future learning experiences.
Flexible Assessments: Organize questions using pages, text blocks, and question pools to create structured, scalable, and reusable assessments.
How It Works:
Follow these steps to create a new Quiz or Survey:
Add Questions
To Create Questions
- From the Tools menu, select Quizzes and go to the Questions tab.

- Select + Create.

- Fill out the information and Save.
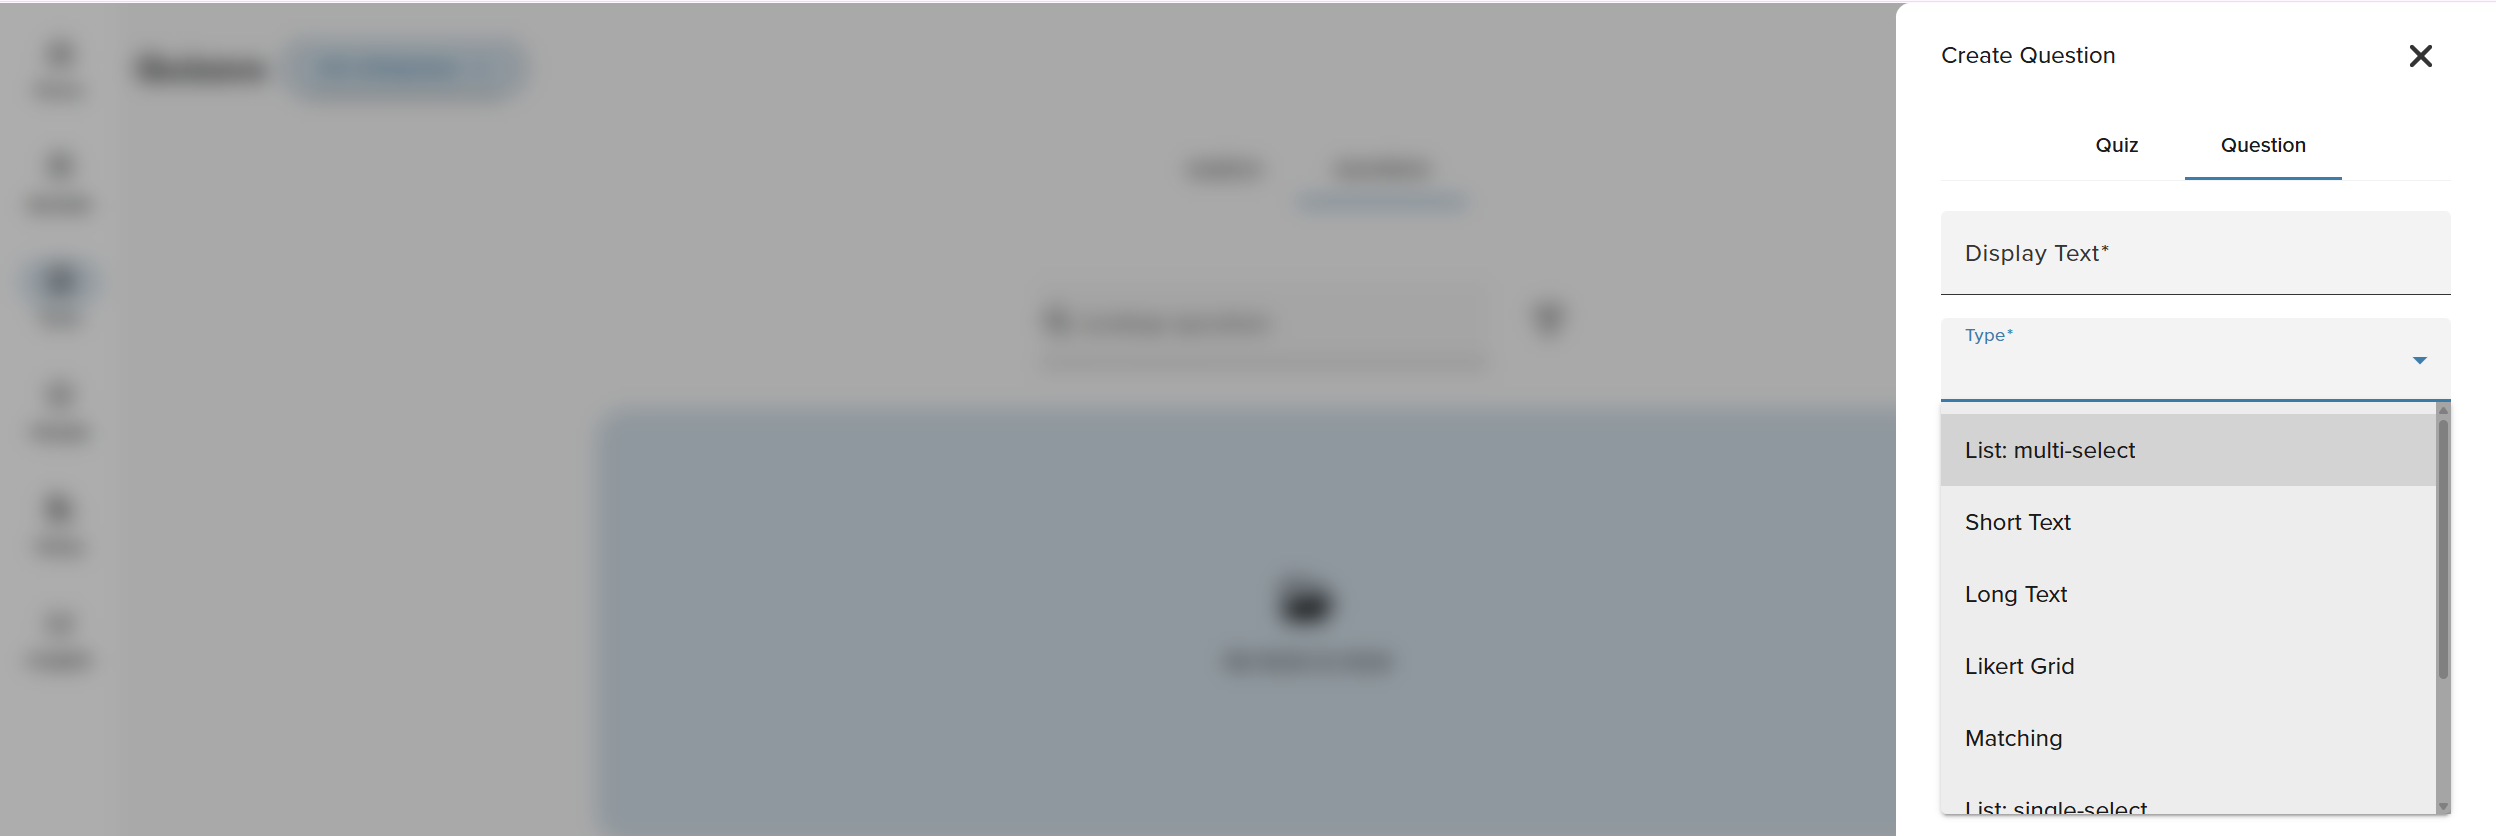
Display Text: The question content shown to the learner, including the prompt and any instructions needed to answer the question.
Type:
- Multi-select: Allows learners to choose multiple correct answers from a list of options.
- Short text: Collects a brief written response, such as a word, phrase, or short sentence.
- Long text: Allows learners to provide a detailed written response, such as an explanation or reflection.
- Likert grid: Presents statements in a grid format where learners rate each item on the same scale (for example, Strongly Disagree to Strongly Agree).
- Matching: Requires learners to pair related items from two columns, such as terms and definitions.
- List: single select: Allows learners to select one option from a predefined list of choices.
- Scale: Asks learners to rate something along a numeric or descriptive scale, such as 1–5 or Low to High.
- Sequence: Requires learners to place items in the correct order based on a process, timeline, or priority.
Group: A group controls who can view responses to the question by assigning it to a specific audience or role.
NOTE: Questions must be in an Active state to be available to add to a Quiz or Survey.
Create a Quiz or Survey
- Navigate to Main Menu > Tools.
- Select Quizzes or Surveys.
- Click the + Create button at the top-right corner of the screen.

- Enter a name for your Quiz or Survey and click Save.

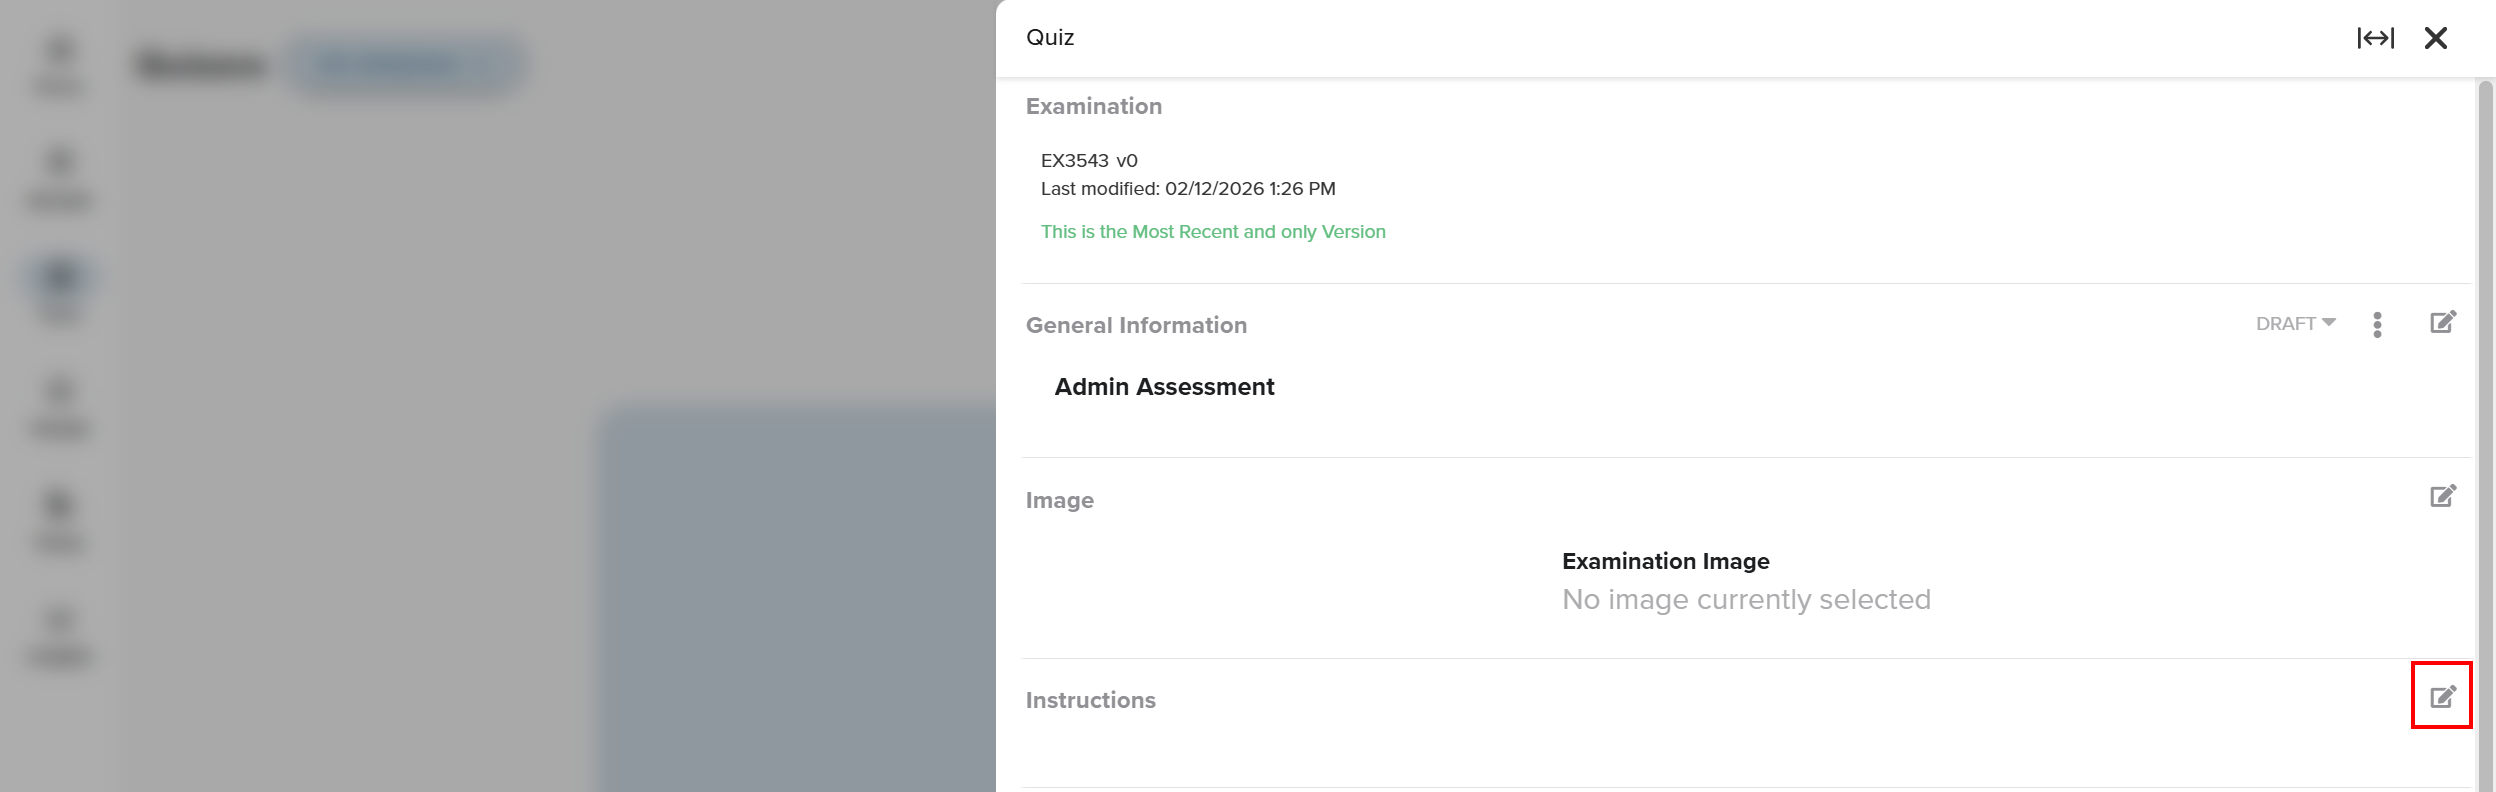
Add Instructions
- Click the Edit icon to open the instructions menu and add Instructions. These instructions are shown to students before they begin and appear alongside the Start or Retake options.
Use this section to communicate:
- Expectations for guessing versus researching answers
- What happens if a student fails
- The purpose or nature of the assessment
- In‑person exam guidance (asking questions, exiting the room, etc.)
Add Questions to the Quiz or Survey
- Click the Edit icon for the Layout menu.

- Click the + icon to build out your quiz or survey.

- Select the questions that you previously added under the Questions tab that you want to add.
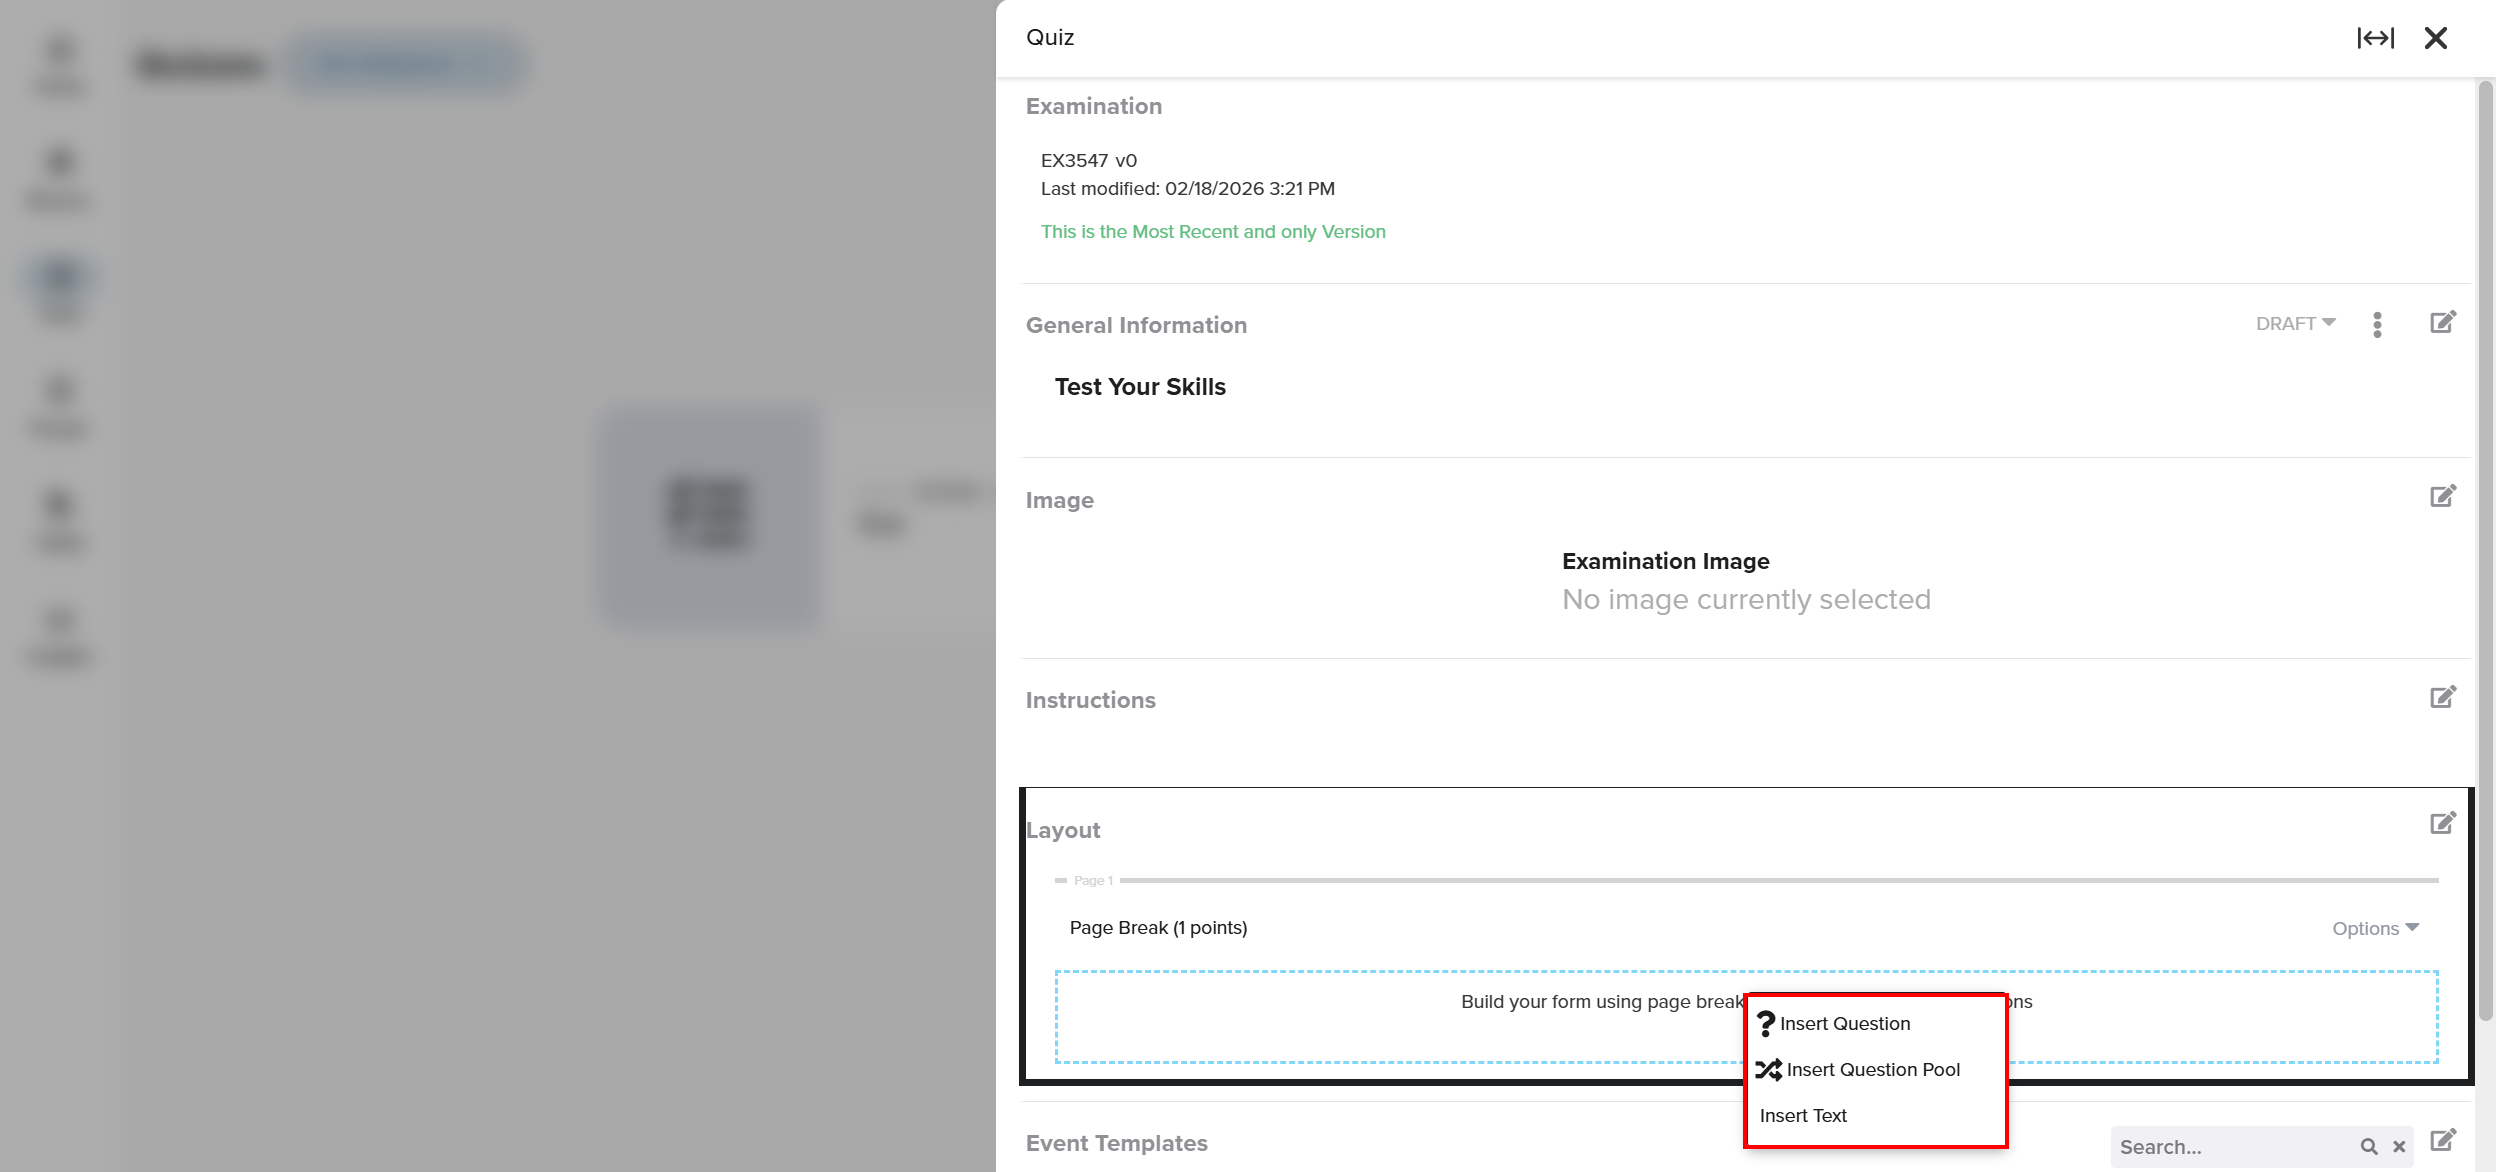
- Insert Questions: Choose specific questions from your pool for your quiz or survey. Use this option when you want full control over question order and content.
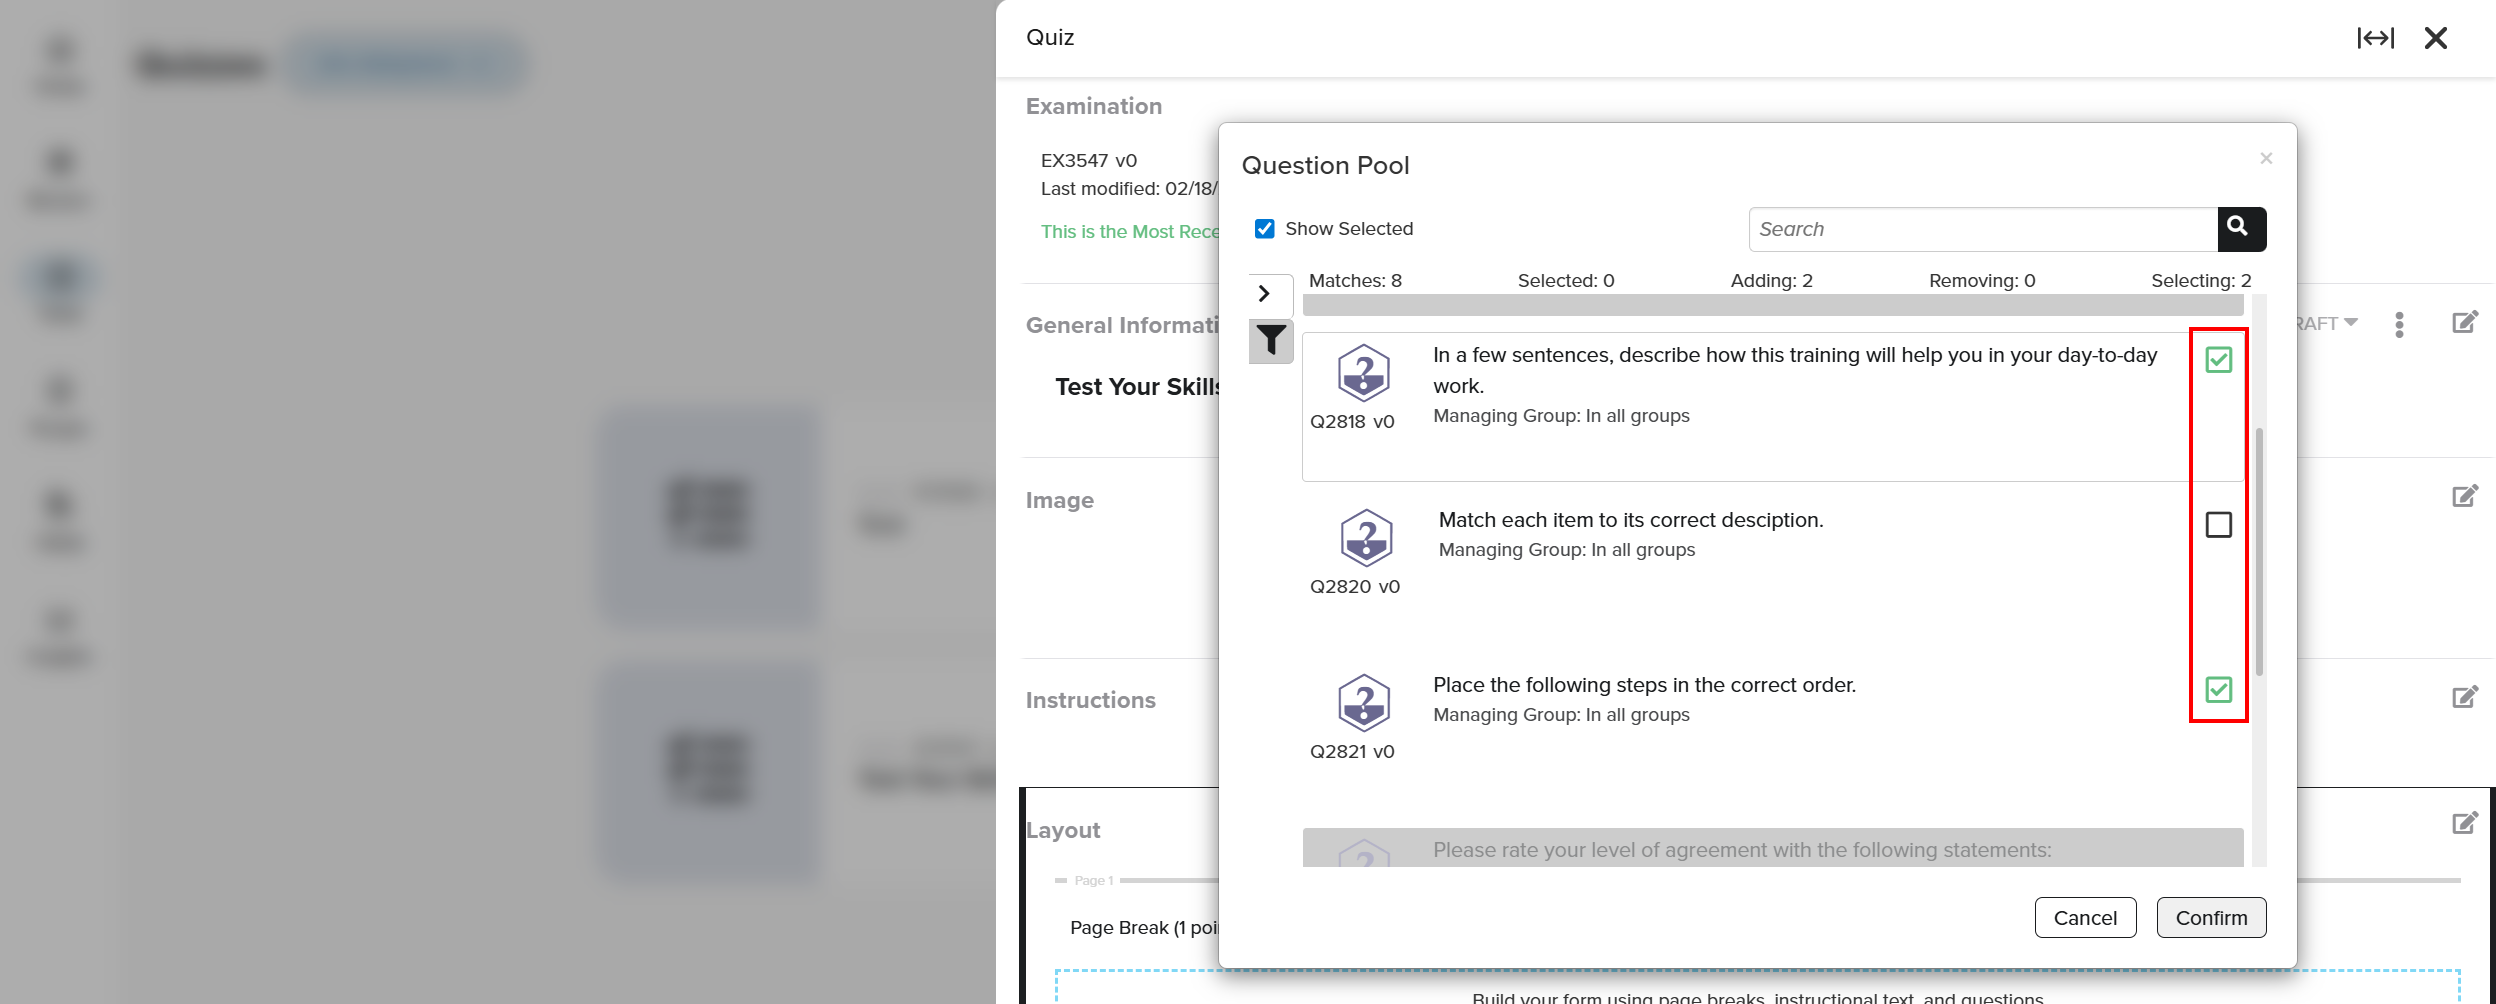
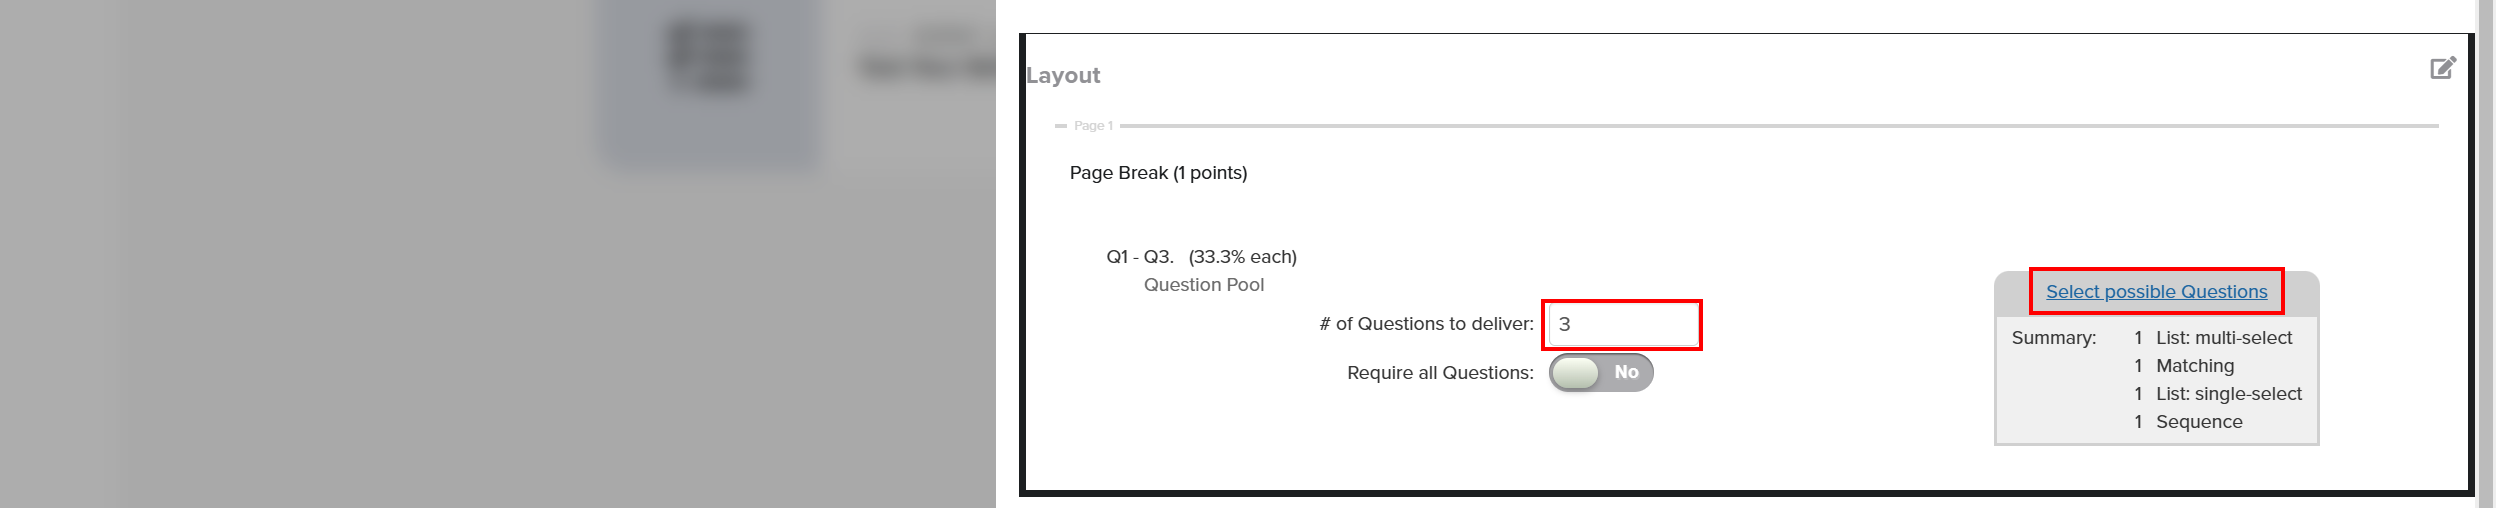
- Insert Custom Pool: Select a set number of questions from a question pool. Questions are randomly selected to create varied assessments and reduce repetition.
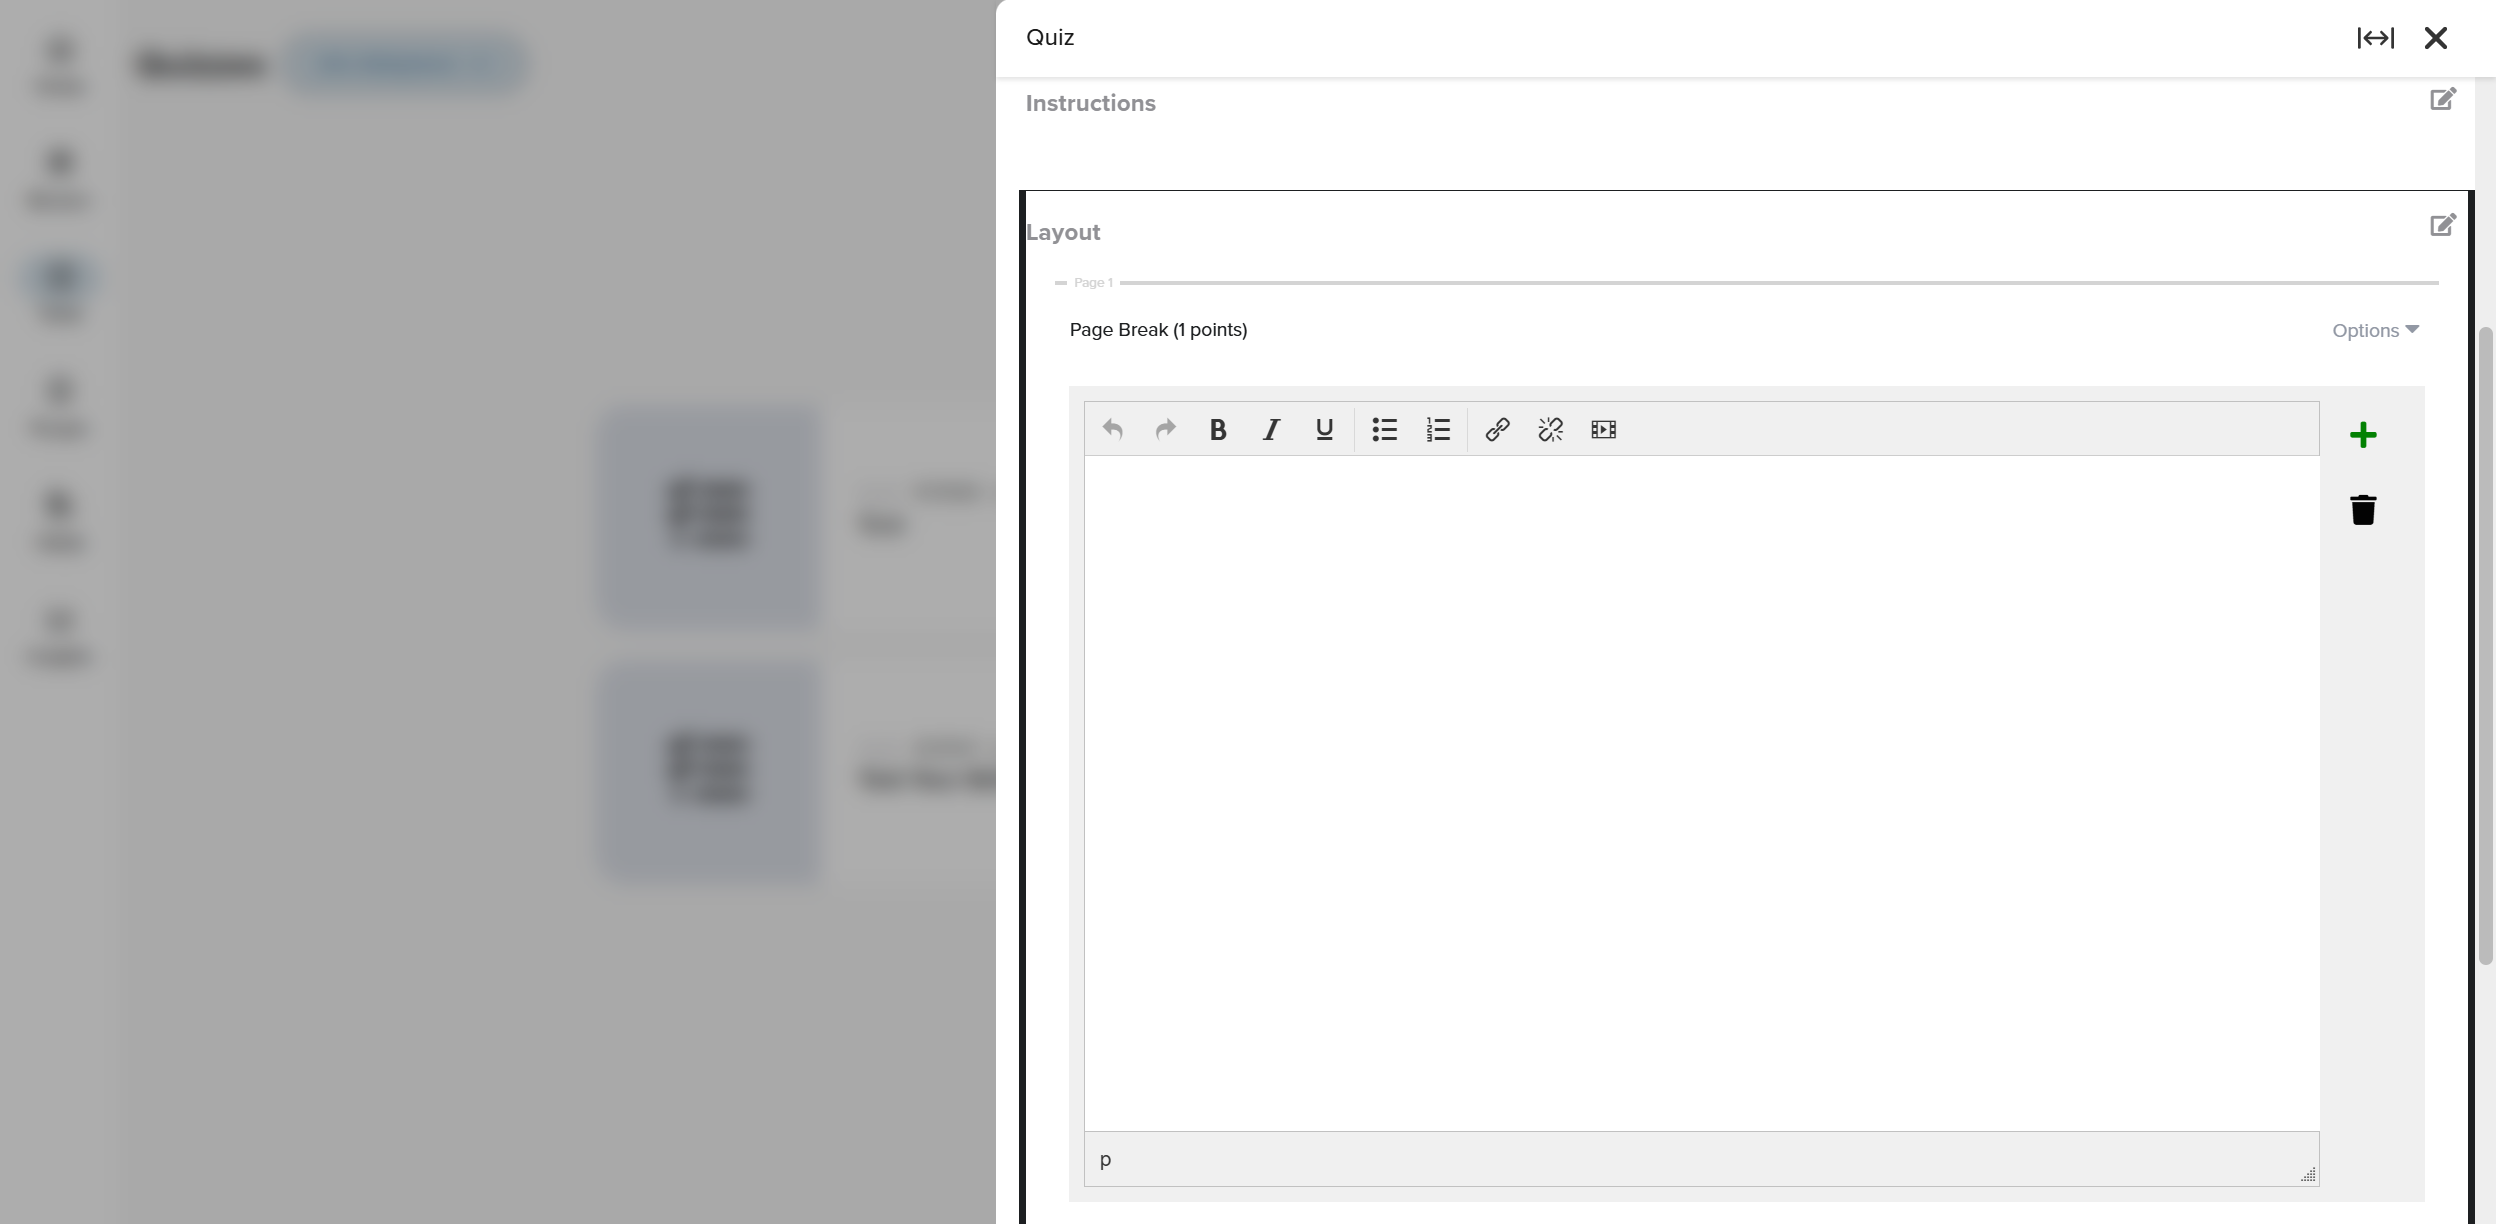
Insert Text: Add instructional or informational text to guide learners. Use this for introductions, section headers, or additional context between questions.
NOTE: Quizzes and Surveys must be set to an Active state to be available.
Advanced Setup
Configure the Layout
Click the Edit button for the Layout section. This section controls how questions and content are presented to learners.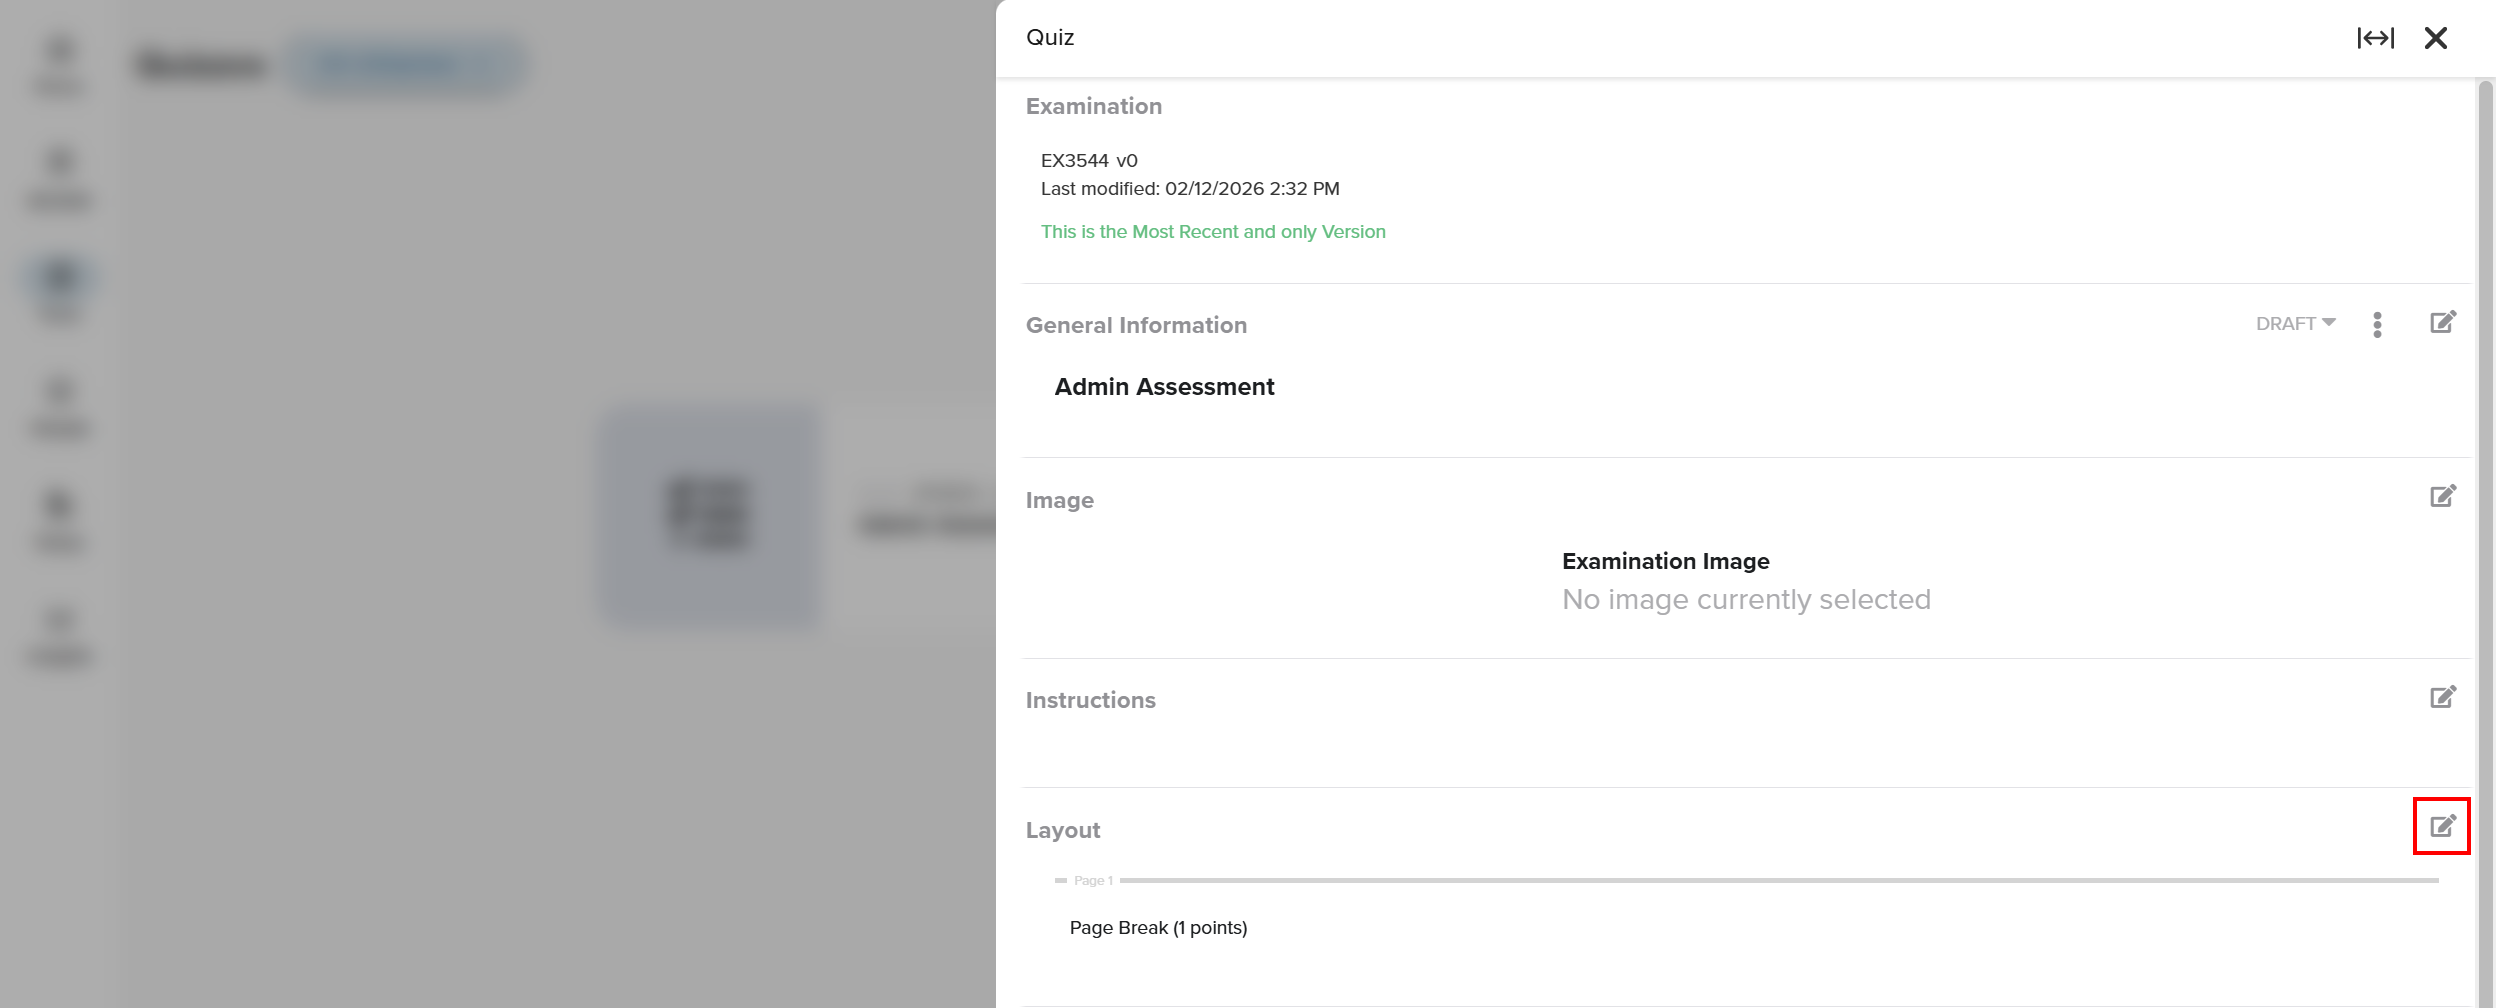
Grouped Questions - Page Breaks
By default, a quiz or survey starts with a single page. You can add additional pages if you want to group questions into sections or control how points are distributed.
There’s no limit to how many questions you can place on a page. However, the total point value assigned to a page is automatically divided evenly among all questions on that page. If you want certain questions to be worth more points than others, placing them on separate pages is an easy way to do that.
Otherwise, pages mainly serve as an organizational tool for administrators during setup. From the learner’s perspective, questions are presented in a continuous order, regardless of how many pages you create.
To insert a new page:
In the Layout section, in edit mode, hover over the Page Break title to open the Options menu.

- Click Options and select Insert Page Break.

To adjust page scoring:
- In the Layout section, in edit mode, hover over the Page Break title to open the Options menu.
- Click Options and select Edit Page Settings.

- Make any necessary changes to the scoring, then select Confirm to save.

Important behaviors to note:
- Questions are delivered in random order.
- Retakes use unseen questions until all have been attempted.
- All questions in a pool are scored equally.
FAQ/Troubleshooting:
Q: Why can’t I see my question when creating a quiz or survey?
A: Ensure the question has been saved and set to an Active state.
Q: Can I assign different point values to individual questions?
A: Points are distributed evenly across questions within a page. To weight questions differently, place them on separate pages.
Q: What happens if a student retakes a quiz with a question pool?
A: The system will present new, unseen questions until all questions in the pool have been used, then repeat as needed.
Questions? Contact us!

Was this article helpful?
That’s Great!
Thank you for your feedback
Sorry! We couldn't be helpful
Thank you for your feedback
Feedback sent
We appreciate your effort and will try to fix the article